|
|||||||||||||||||||||||||||||||||||||||||||||||||||||||
|
|
|
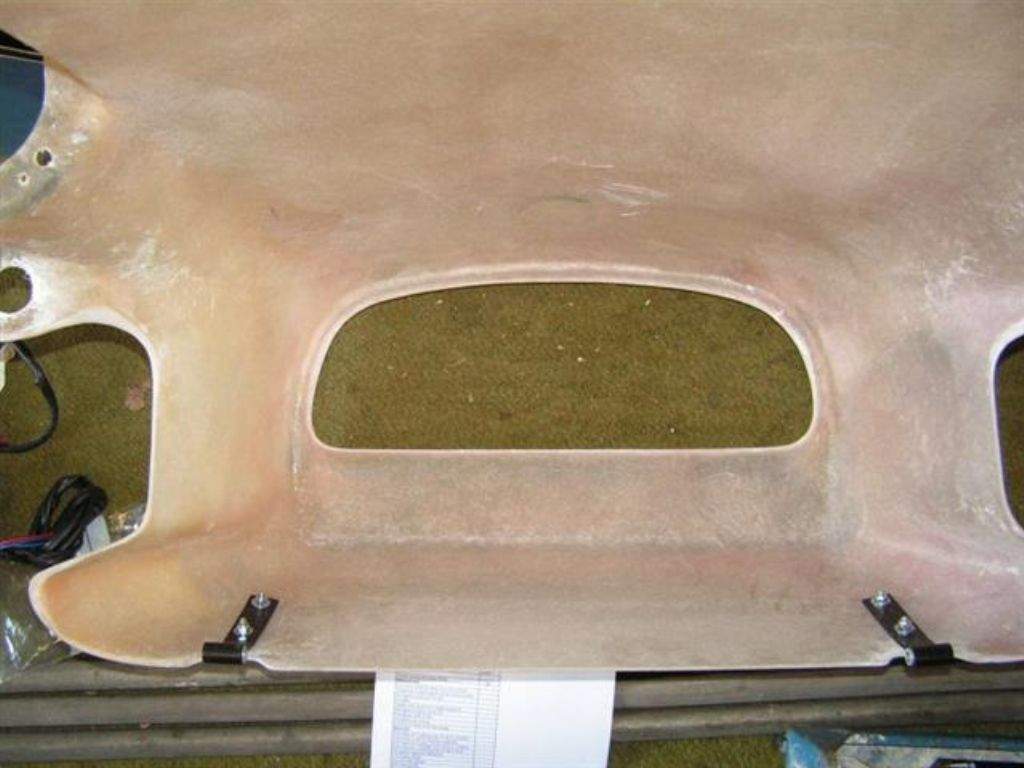
Radiator Swap - July 2009 During the original build I had planned to use a VW Polo rad, as these seemed to be successfully used by many kit cars including Westfields, Locosts and of course Sylvas. I got as far as buying the rad and trying to fit it, but struggled to package it in the low nose of the Mojo and eventually reverted to the Maestro rad mentioned in the original Mojo build manual. However, on the very first track outing back in 2005 the Maestro rad showed the first signs of leaking from the join between the end tanks and the core. This was disappointing, but the leak was more of a slight weep, and only became evident when the car was being given a workout - the expansion due to temp was clearly causing the seal between the mating parts to degrade. I ended up ignoring it, as so little coolant was lost that I didn't see it as a big issue. Then one weekend in 2008 I took the car on a long run to Wales, up to Liverpool, and back to Warwick, and noticed that the engine was starting to get rather too hot (100-105deg), particularly on a motorway cruise. Admittedly it was one of the warmest weekends of the year, but it gave me slight cause for concern. First port of call was to swap the thermostat as I had begun to suspect that the original one wasn't quite working correctly (the car always took 20-25 minutes to get fully up to temp) and I wondered if it could be stuck in a half open position, restricting cooling as well as slowing warm up. Whilst I had the stat out I did a long overdue coolant change. Bingo, the car now warmed fully in under 10 minutes and then sat at 92deg (the new stat from Ford is a 92deg item so no surprises there!). I figured that the cooling problem was fixed, until I took the Mojo on a run down to the Chilterns in June 2009. Normally speaking I would avoid the motorways, but I was in a hurry so took the M40, and once again the car ran at about 100deg on a cool morning. On the return journey I removed the front grille (it had recently come half loose so was easy to pull out!) to check that the fairly thick mesh wasn't causing a restriction, but the car still sat at about 100deg. Hmmm. Another theory was that the airflow was passing around the radiator rather than passing through it. A quick chat with Ruari Coles, fellow kit car owner and thermal expert by profession, confirmed that the gaps around the rad could loose me 20-30% of the cooling effect of the rad. So, it would make sense to block these holes up. However, rather than spend time and effort making some custom parts to suit the leaky Maestro rad, I decided to search out a new radiator and then optimise the new installation. A chat with some other Mojo owners (there are now rather more than when I originally built the car!) and I found that some were using a part supplied by Stingray Motorsport. However, I was still concerned that this would be a tight fit in my early style nosecone, which has a lower return edge that meets the lower front chassis rail; the later, more aggressively styled nose does not have a lower return and hence there is a bit more height available to package the rad:
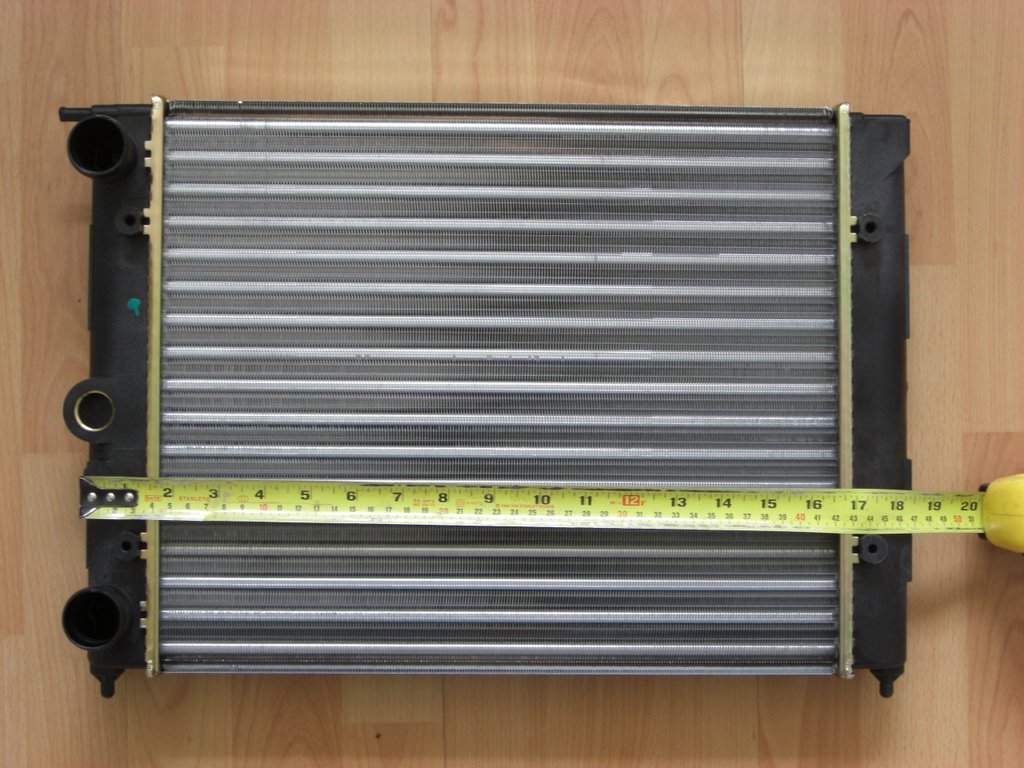
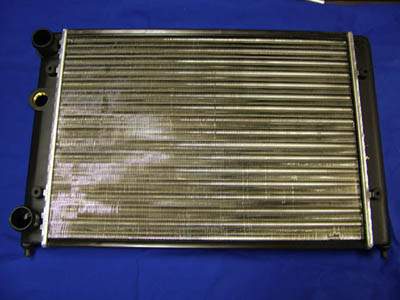
I was however able to identify the source of the Stingray radiator, and found a 50mm narrower equivalent - the VW Polo one that I had originally tried to fit! I took the decision that if necessary I would cut out a section of the lower return of the nosecone to give me a little more space in which to work, and hence ordered the Polo rad from GSF car parts (GSF P/N 17321B which is a Polo 1.1 83-90 380mm core). On collecting the Polo rad, I spotted that it was slightly different to the one I had originally tried to fit - the plastic end tanks were more rounded and less chunky, which should hopefully help with clearance to the nose. The similarities with the Stingray rad are obvious:
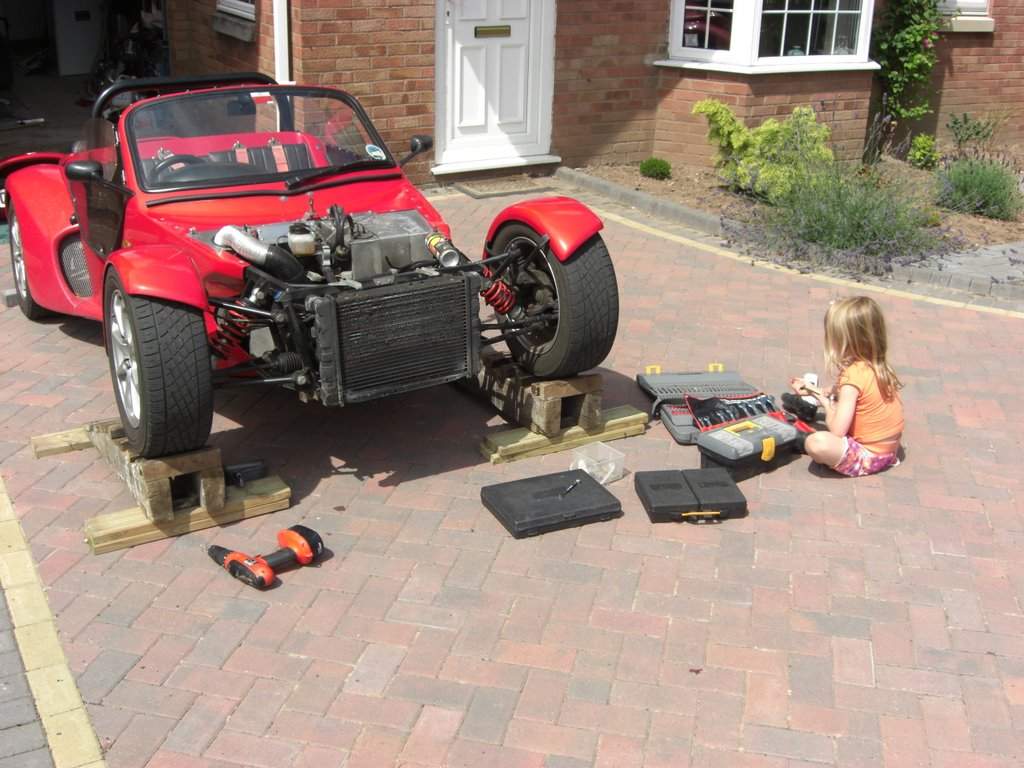
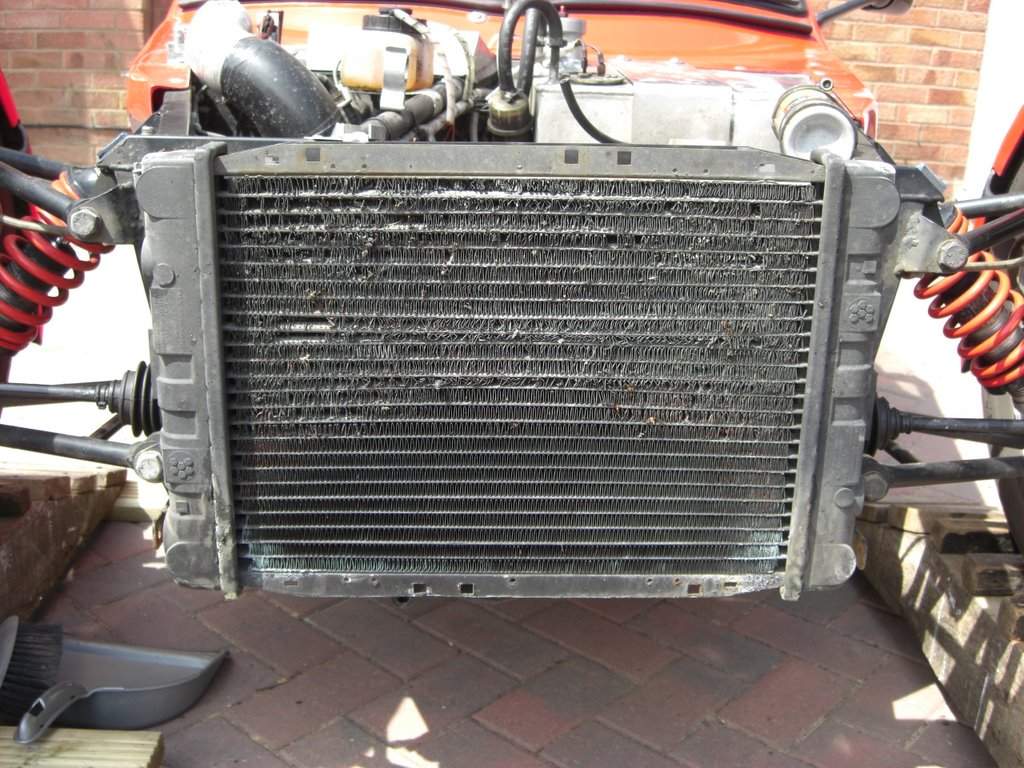
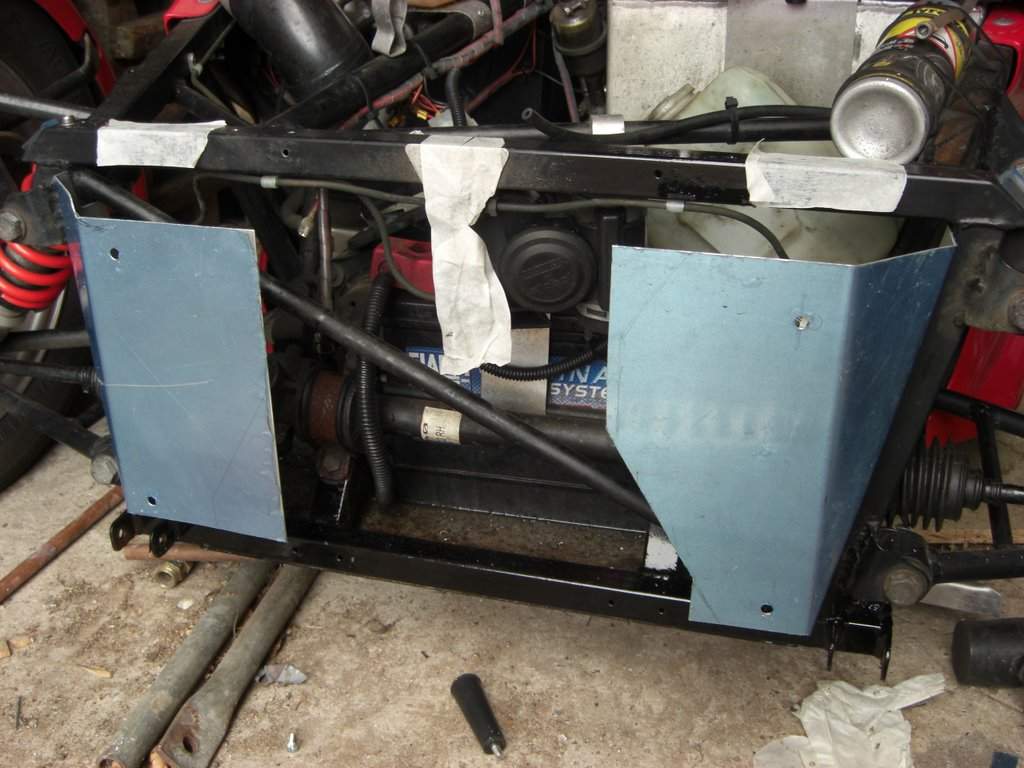
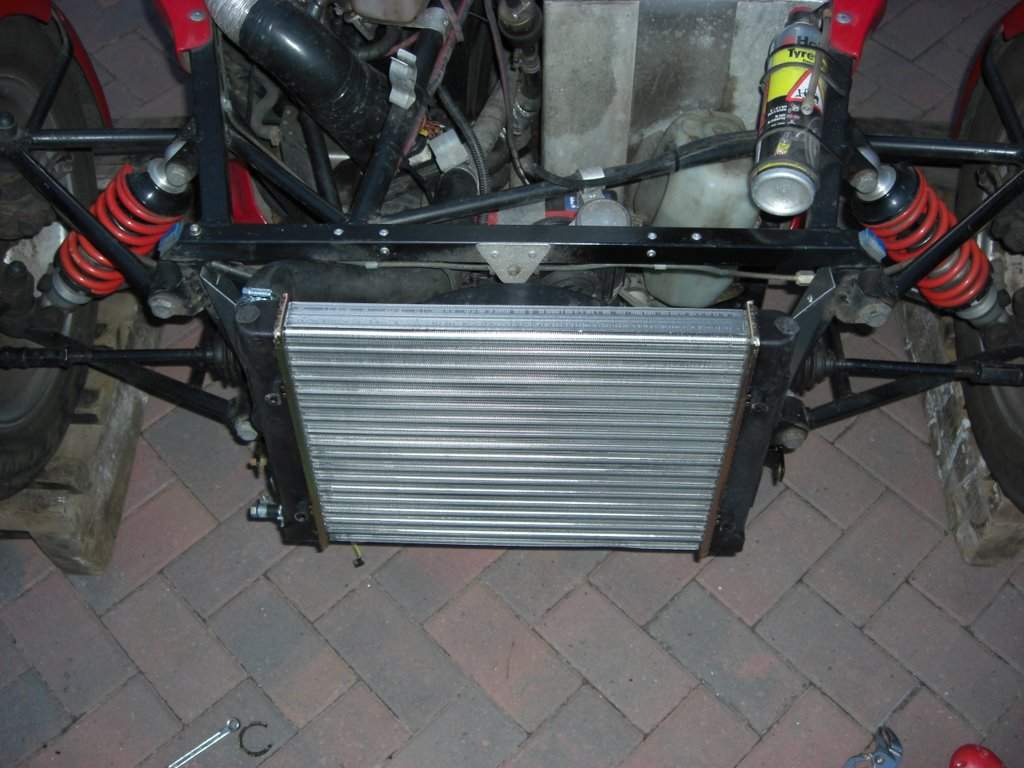
As usual with any mods like this, I had a weekend in which to complete the work so I could drive home from work on Friday, and be ready to drive to work Monday morning. First job was to get the front of the car up on ramps, and then remove the bonnet. I hoped that by raising the front end, I wouldn't have to drain the whole cooling system (I only changed to coolant a few weeks ago...). It became apparent that the old rad was a bit of a mess!
The cooling fan was unbolted, and then the fan switch removed from the old rad to check if this could be re-used on the new rad. This allowed some coolant to be drained off (and caught in a clean container). The bottom connection to the old rad was then broken and the remaining coolant drained off. The rad was then unbolted and the old brackets taken off by drilling out the rivets.
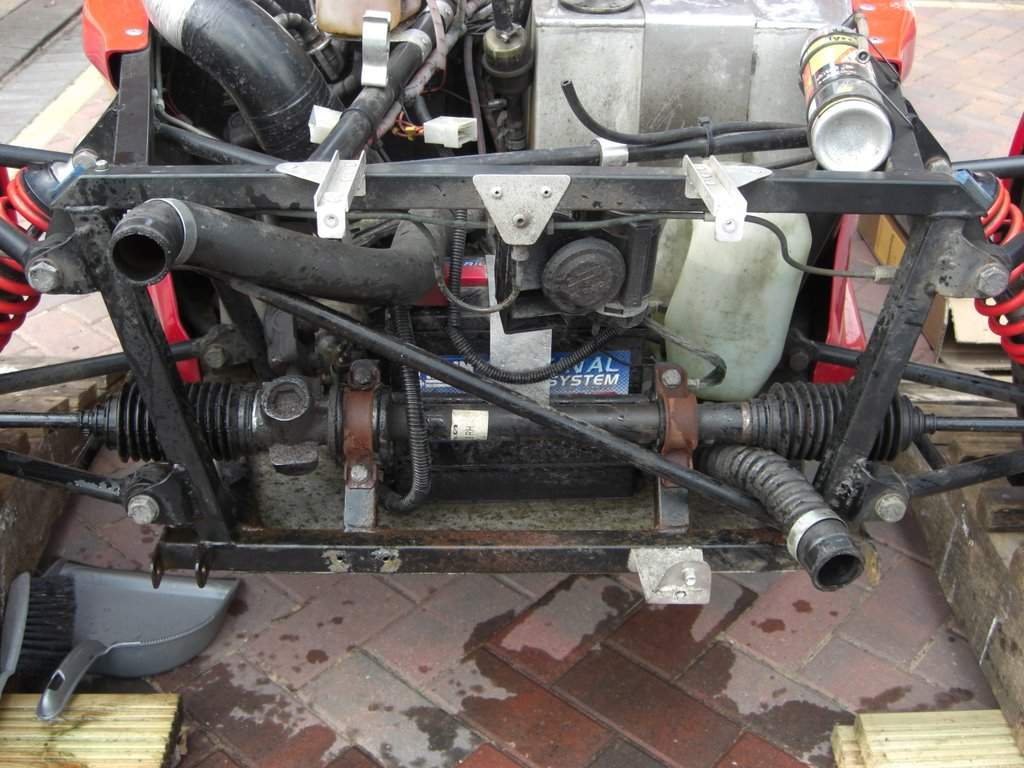
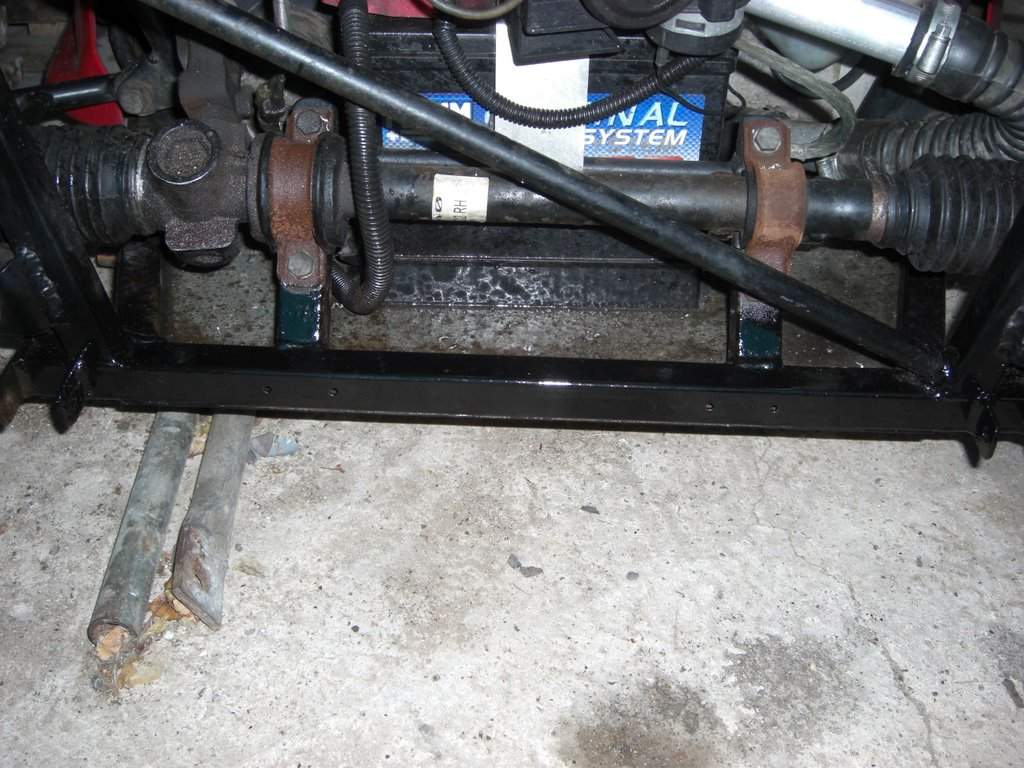
The front lower rail of the chassis was found to be in a bit of a sorry state, so out came the wire brush attachment for the drill to clean up the front and upper surface (the rear edge felt in a similar state but is not accessible with the floor panel in place, so got left alone). Smooth black hammerite was then sprayed on to neaten things up.
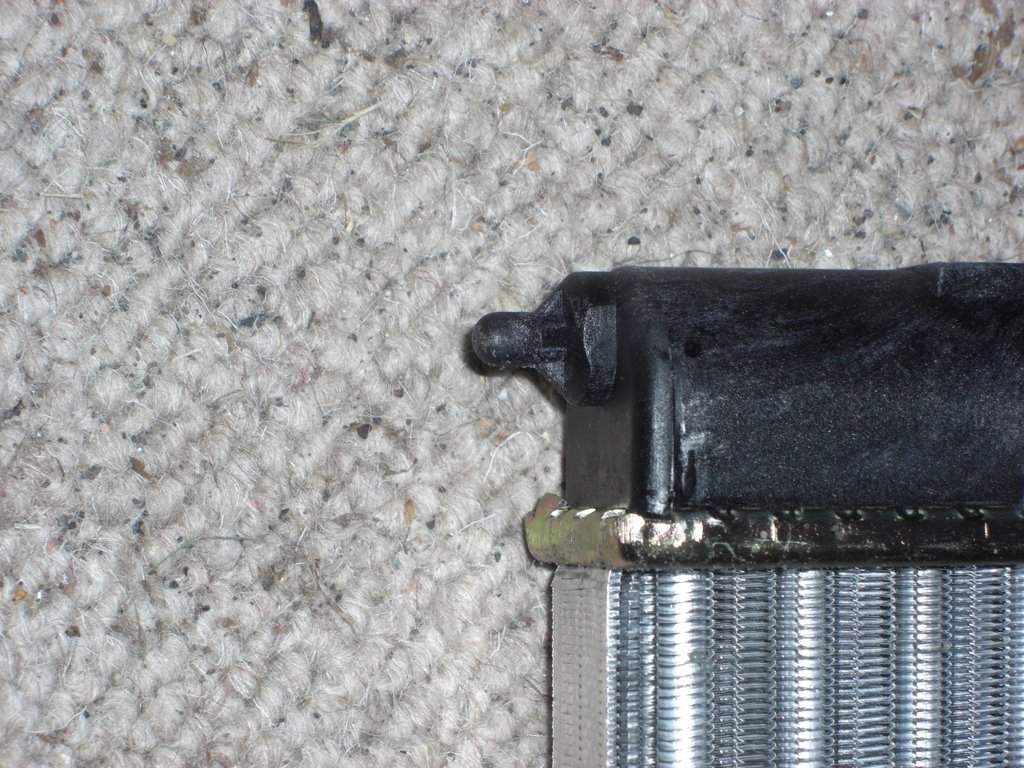
Next job was to check that the new rad would fit within the nose. I first removed the lugs on the bottom corners of the rad to help with clearances, these are part of the plastic end tank moulding and can be cut off with a hacksaw.
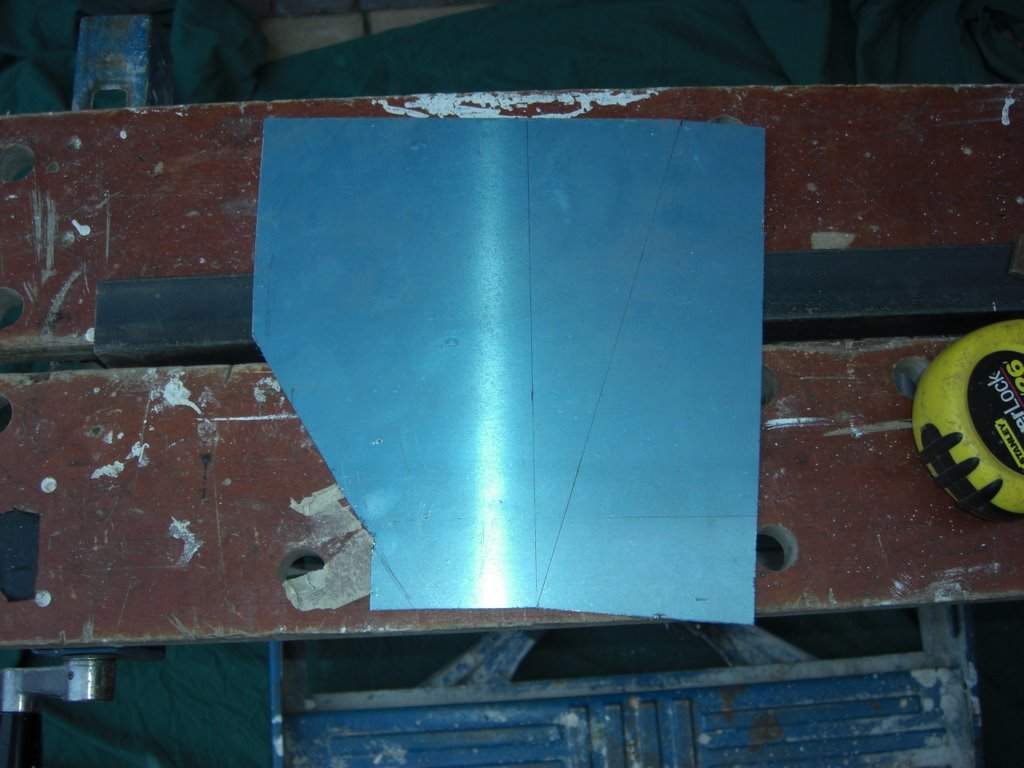
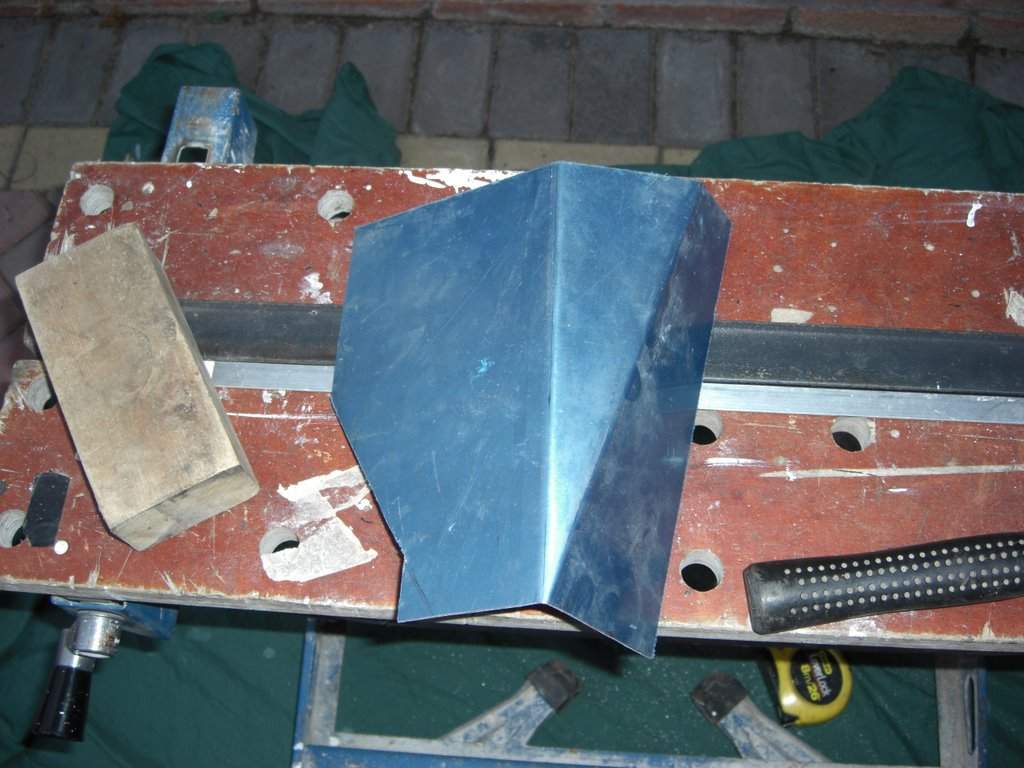
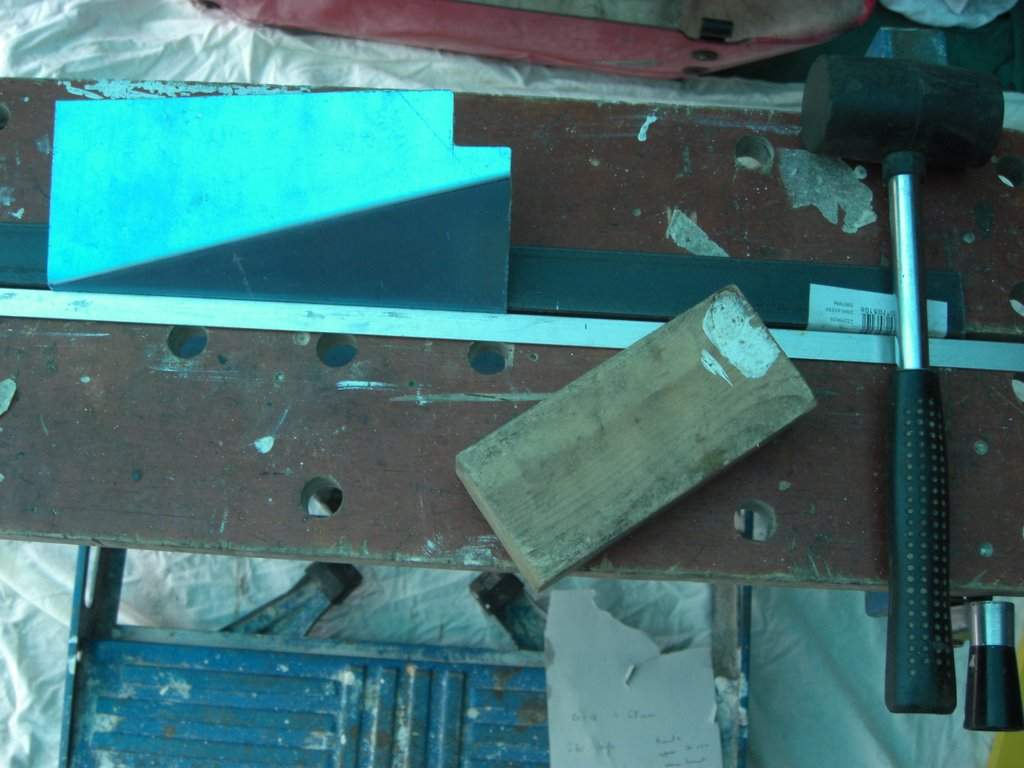
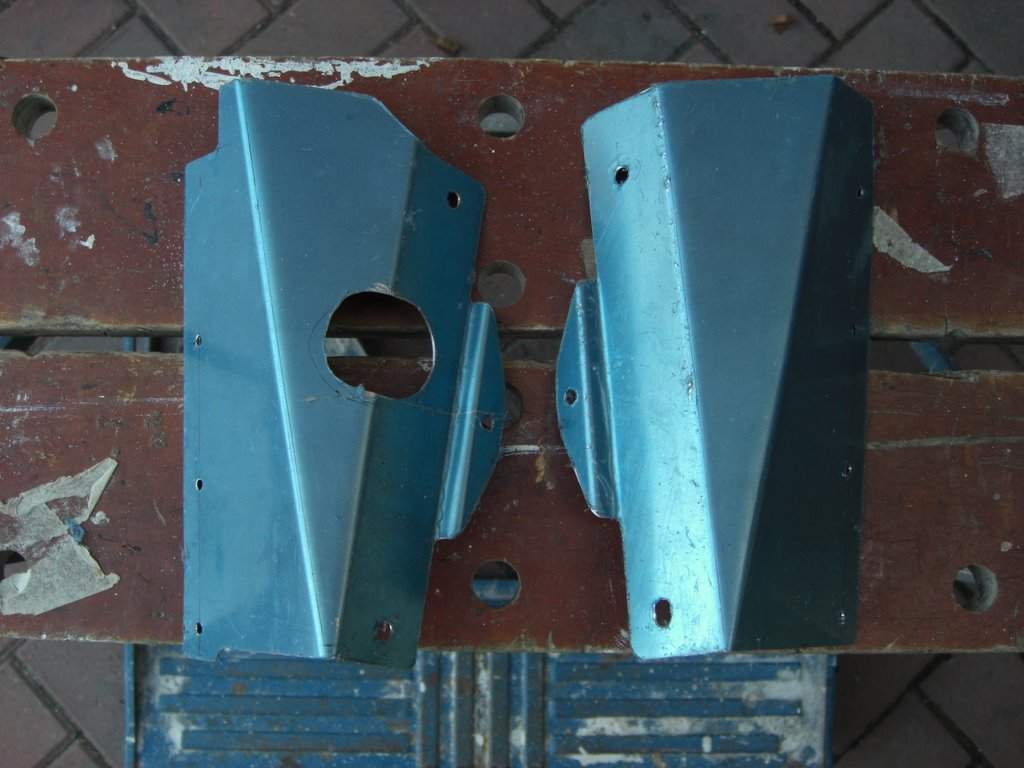
The rad was then supported roughly in position using some spare bits of rad hose. The best pipe routing seemed to be a similar top hose arrangement to previous, but the bottom hose was now on the same side as the top hose so a new setup would be needed here. The simplest solution was an extra dogleg under the steering rack. With the approximate position decided, I set to on some brackets (whoopee!). The plan was to mount them to the inside face of the front chassis verticals, do some judicious panel bending, and pick up the 4 handy lugs on the rear of the rad. I also wanted to incorporate the fan mounting, so left plenty of spare material to the inside of the brackets. The process is detailed in the following pics:
At this stage the brackets were secured using self tappers as a temporary measure. To determine the exact position that the holes for the rad mounts needed to drilled in, I stuck 4 large, thin patches of blu-tac onto the brackets. The nose was then offered up, and the rad held in position through the front of the nose. Once positioned correctly, the rad was pushed back into the blu-tac, making 4 indentations. The rad and nose could then be removed and the mounting holes drilled in the brackets.
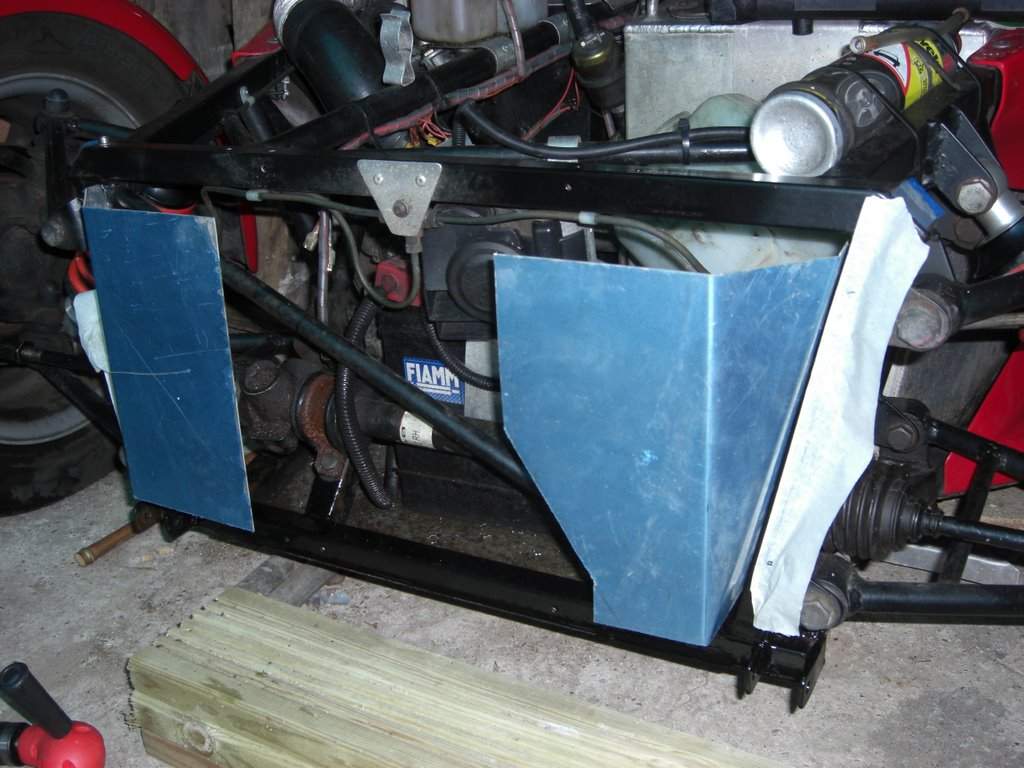
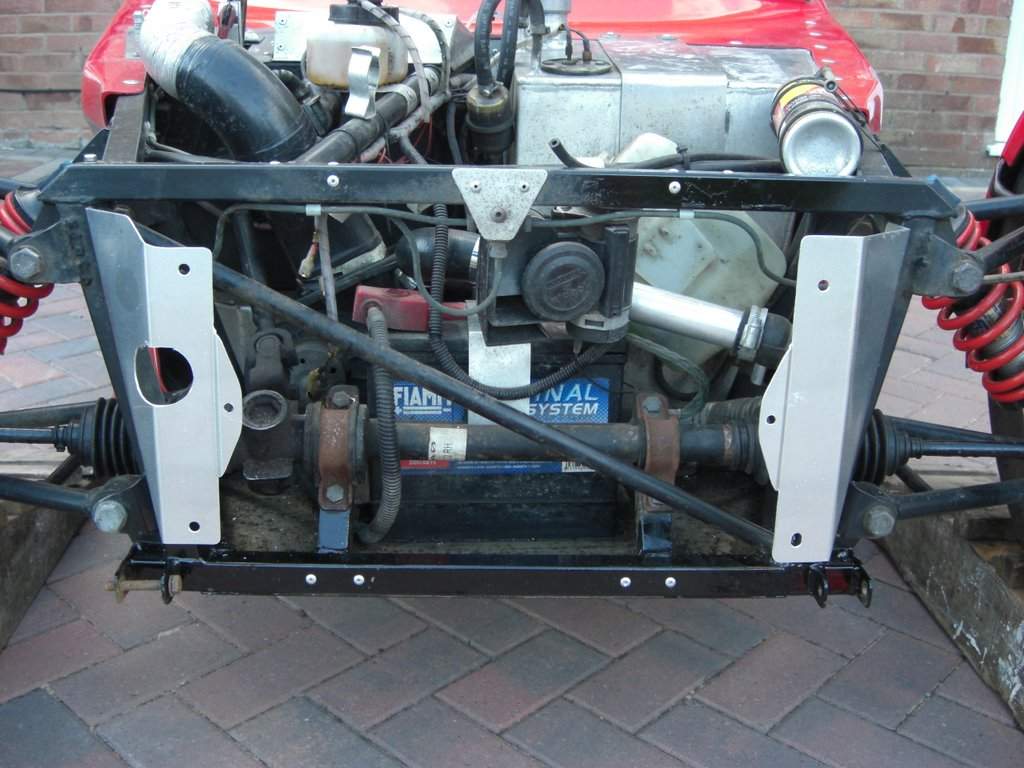
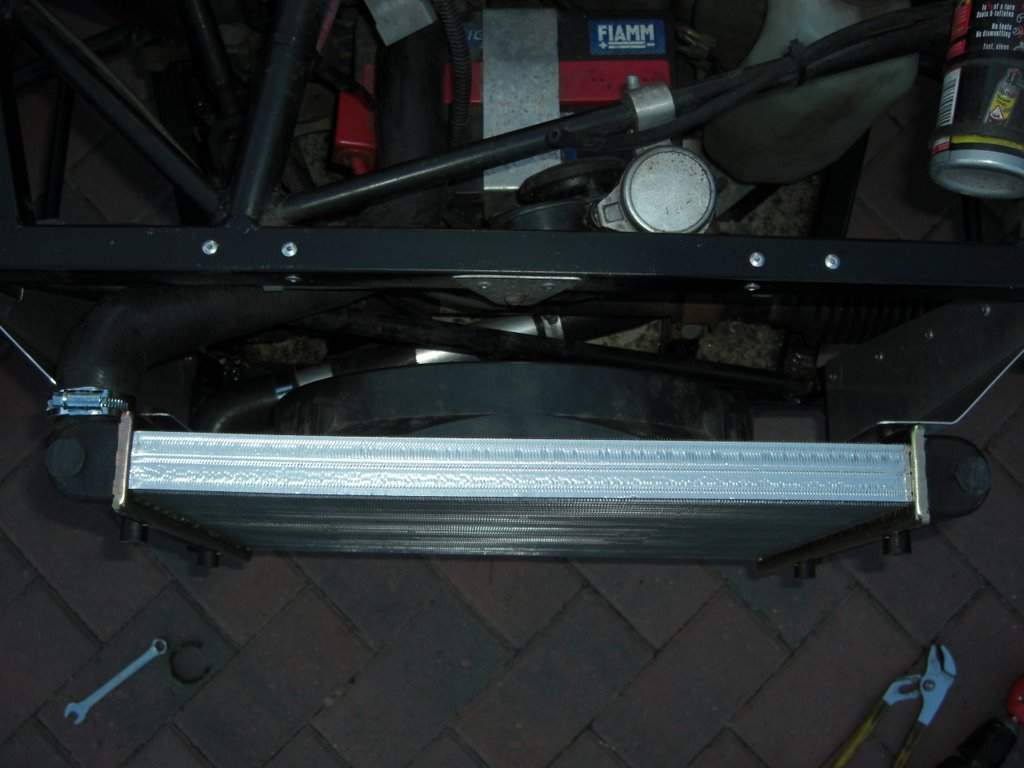
The brackets were then modified to give clearance for the top and bottom hoses, and a hole but to clear the fan switch (I had to buy a new one as the previous was a smaller thread size). They were trial fitted to the rad, and the mounting for the radiator decided upon. I was rather pleased with the end result:
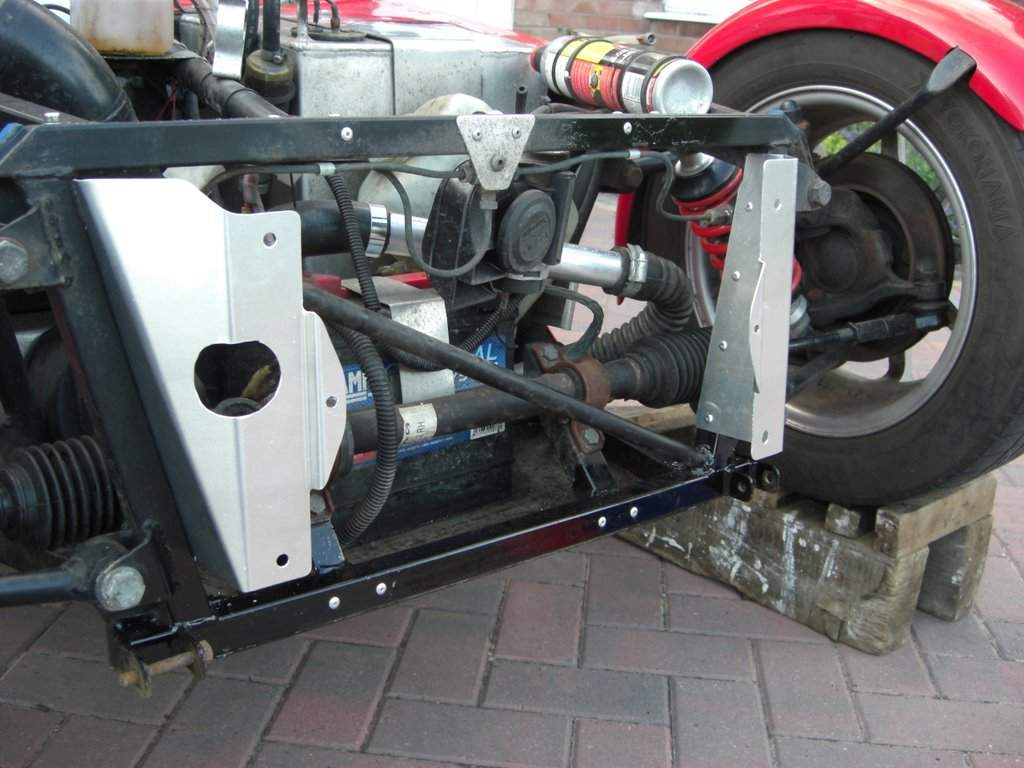
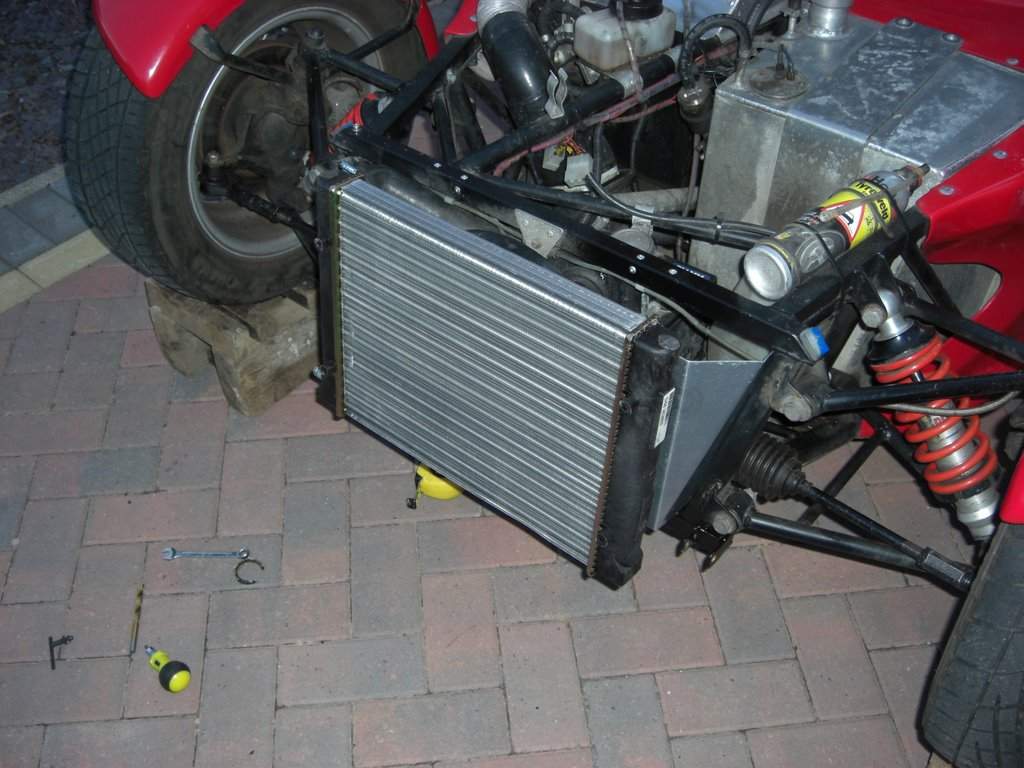
The rad was then mounted and plumbed in:
Refilling the system showed no leaks. I ran out of time to fill in the gaps around the radiator at this stage, so refitted the nose and grille mesh. A 300 mile weekend a few weeks later showed that the car now sits at 90 degrees on a Motorway cruise - perfect!
|
|||||||||||||||||||||||||||||||||||||||||||||||||||||
|
|
|||||||||||||||||||||||||||||||||||||||||||||||||||||||