|
||||||||||||||||||||||||||||||||||||||||||
|
|
|
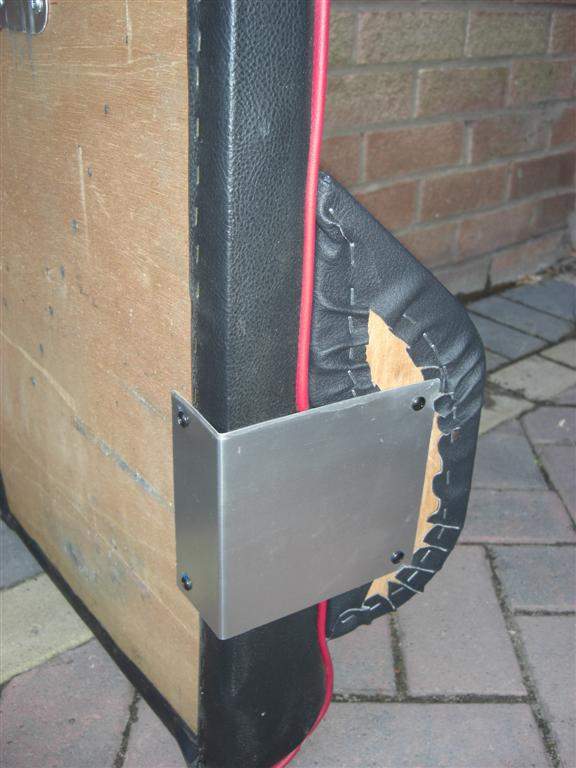
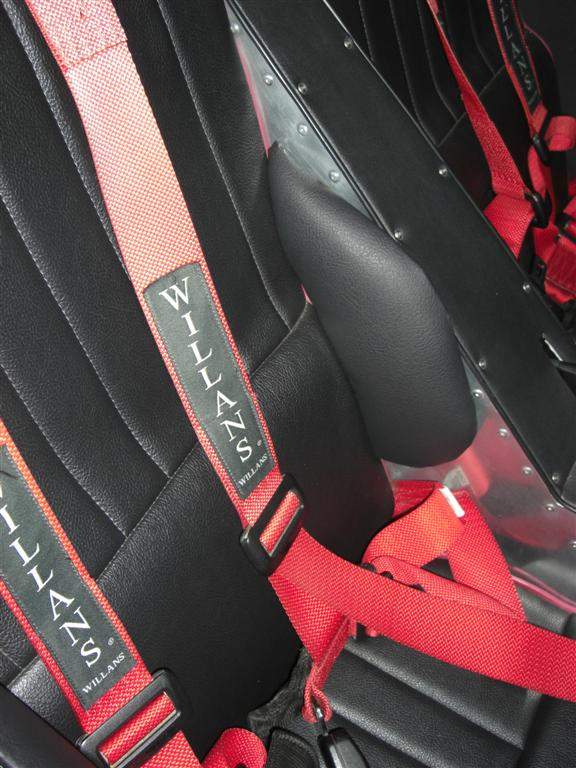
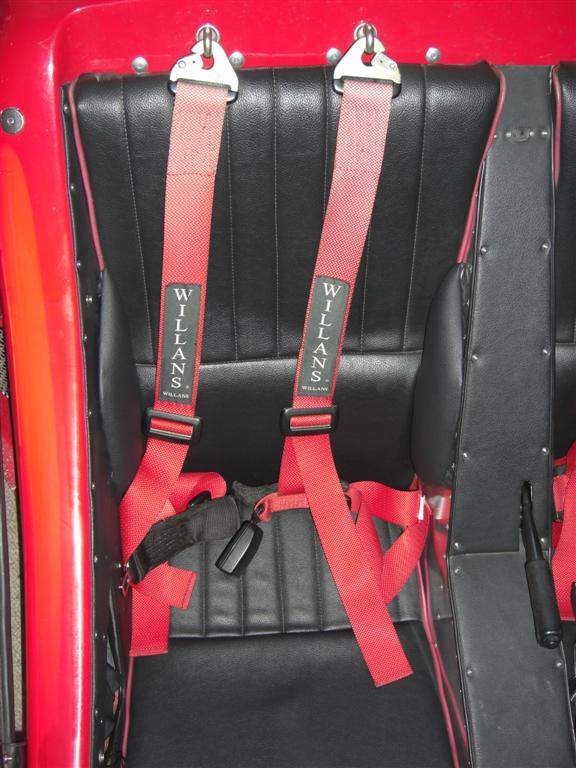
Seat Bolsters - April 2009 Although the Sylva supplied seat cushions are surprisingly comfortable given their very simple design, they do lack slightly in terms of lateral support. You are entirely reliant on the side of the tunnel to one side, and the trim panel to the other side, to provide lateral support, and in my case I have about an inch of clearance between my torso and these surfaces. I had never thought of doing anything about this, until I saw Matt Beardshaw's hand crafted side bolsters, which he made in 2008 when he first started sprinting his Mojo. These seemed like a very good idea, and having chatted to Matt about them he was pleased with their benefit. He even kindly donated some offcuts of foam for me to use in making my own side bolsters. That was last year, and only now have I finally got round to making a start! The first job was to decide on the approximate shape. I decided to go for a slightly smaller design than Matt's as I thought they could get in the way when getting in and out of the car, and given the regular use that my car gets I thought this could be more of an issue than for Matt. I then did some experimentation with cutting the foam, and found the kitchen breadknife to be perfect! I cut out the basic outline and then tried the 2 bolsters in the driver's seat. I found them to be a bit too snug, which was fine as I had hoped to cut the foam on the tunnel side to match the angle of this panel (the tunnel is narrower at the top than at the bottom). So, I cut the face of the tunnel side bolster such that it was 15mm thinner at the bottom than at the top, so that when fitted against the tunnel the outer face was approximately vertical. Another trial showed that things were still a bit snug when wearing the various layers I inevitably end up wearing during the winter months, so I slimmed down the outer bolster by cutting about 10mm from the front face. A final trial proved that this felt just about right. I then cut out some thin plywood to match the shape of the bolsters, and 2 pieces of vinyl left over from the original build. The foam is adhesive backed, so I stuck this to the plywood. A borrowed staple gun enabled me to wrap the vinyl around the foam and fix into the plywood at the rear. It was quite difficult to get a good finish at the very top corner of the bolster, to minimise visible folds in the vinyl, but eventually I was happy with the resulting 2 trimmed bolsters. 2 small folded brackets were then made, to join the bolsters onto the backrest. This solution means that the bolsters come out when the backrest is removed, rather than being joined to the car directly, and it means that all the fixings are concealed. The brackets were attached using a couple of self tapping screws into the bolster, and a further 2 into the plywood rear of the backrest. This seems sufficiently firm, and the end result looks neat and tidy, just as I like it! In use the bolsters are a noticeable improvement. I have however decided to not fit some on the passenger side, as this means that I can take a larger range of passenger sizes! I think having them just on the driver's side gives the car a driver-focused look which I am not unhappy with.
|
||||||||||||||||||||||||||||||||||||||||
|
|
||||||||||||||||||||||||||||||||||||||||||