|
||||||||||||||||||||||||||||||||||||||||||||||||||||||
|
|
|
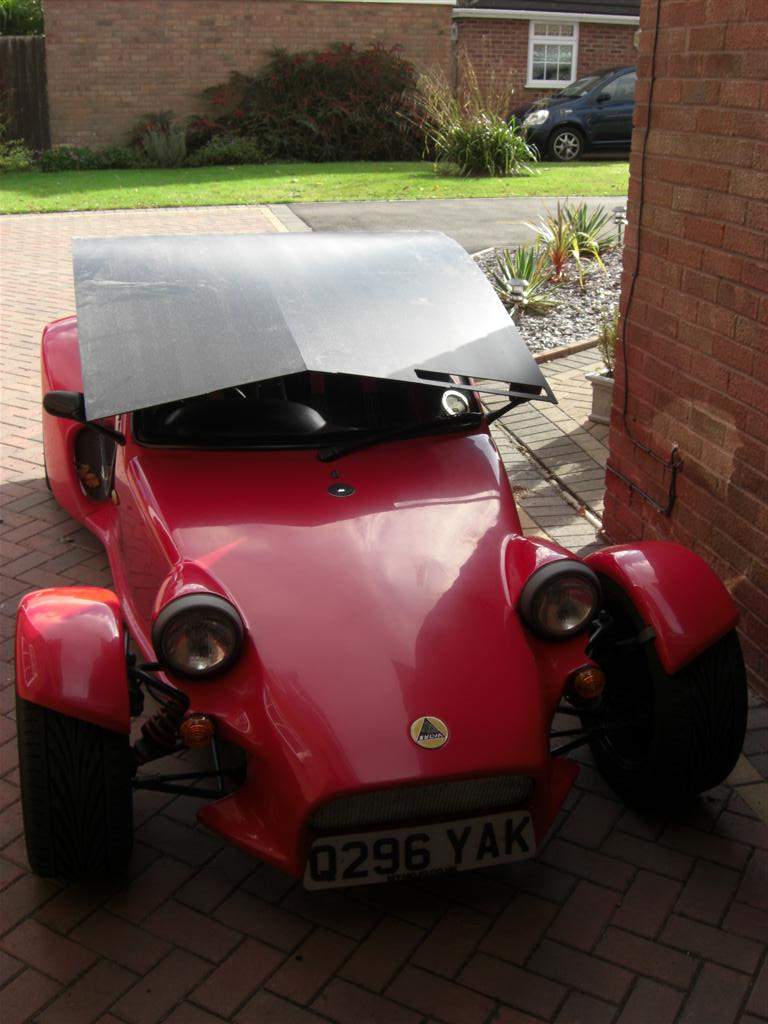
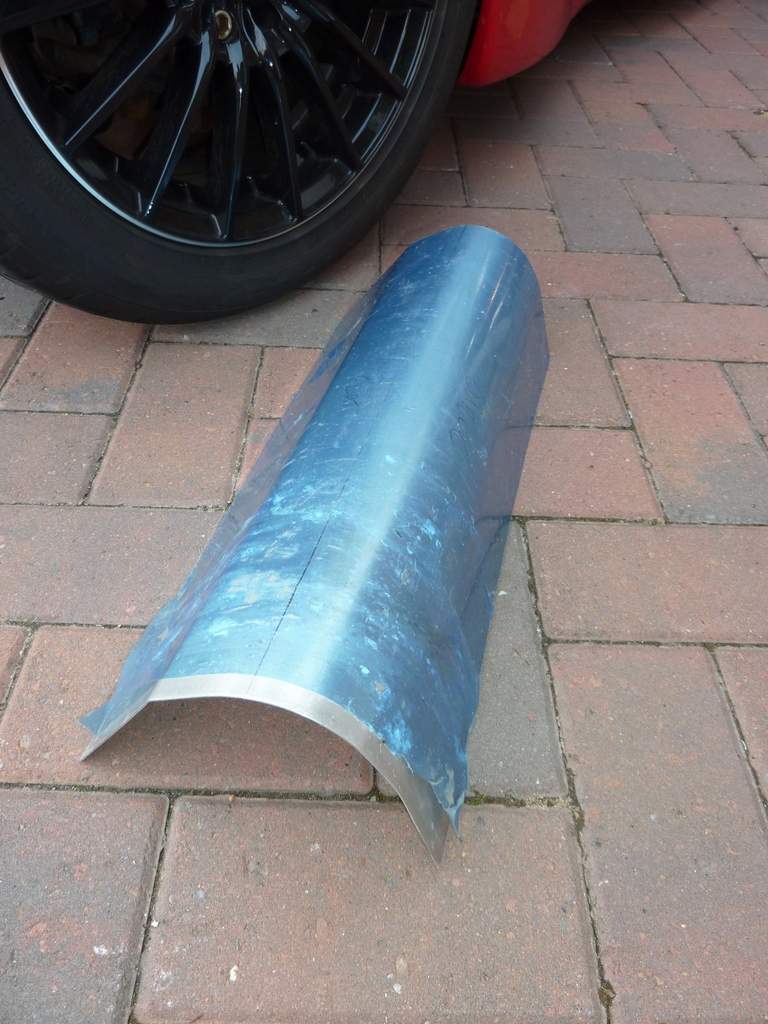
Airbox & cold air feed- October 2009 onwards... October 2009: The Mojo has always run with sock filters, simply because the inlet trumpets are pretty close to the underside of the engine cover, and they seemed the only real option. However, socks never seem particularly well regarded as a filter solution, so as mine starting showing signs of deterioration, I was keen to find an alternative solution. Also aware that it can get pretty warm in the engine bay, incorporating some kind of air feed from one of the inlets in front of the rear wheels seemed like a good idea. After lots of background reading into airbox design and tuning I have settled on a solution including a fabricated aluminium airbox with a 76mm feed to a cone filter located inside the rear right wing, in front of the rear wheel. The cone filter will require some protection from the potentially significant quantities of water thrown up by the rear right wheel, so at the same time I plan to fabricate an inner wheel arch. This will serve an additional purpose, that of keeping water off the alternator belt, which quite often slips with a nasty shriek when driving in the wet. I remembered seeing a Marlin 5exi at the Donington show a few years ago with inner arches made from Correx, the corrugated plastic material used by Estate Agents for their For Sale signs. After some digging around I found a local(ish) supplier, www.theplasticshop.co.uk. A quick email confirmed that they would be able to supply me with a single sheet (their normal price was £45 for five 2.4m x 1.2m sheets), or maybe even some offcuts if I got lucky. I therefore made up some cardboard templates of the required shapes before paying them a visit. They proved to be a very friendly place, and pulled out a rather larger offcut than expected, at about 2.0m x 1.2m, and only asked for £5! Bargain! The only problem was fitting into the tintop, but eventually it formed a rather tasteful black headlining running right over my head...! Here is the offending item giving the Mojo a little weather protection:
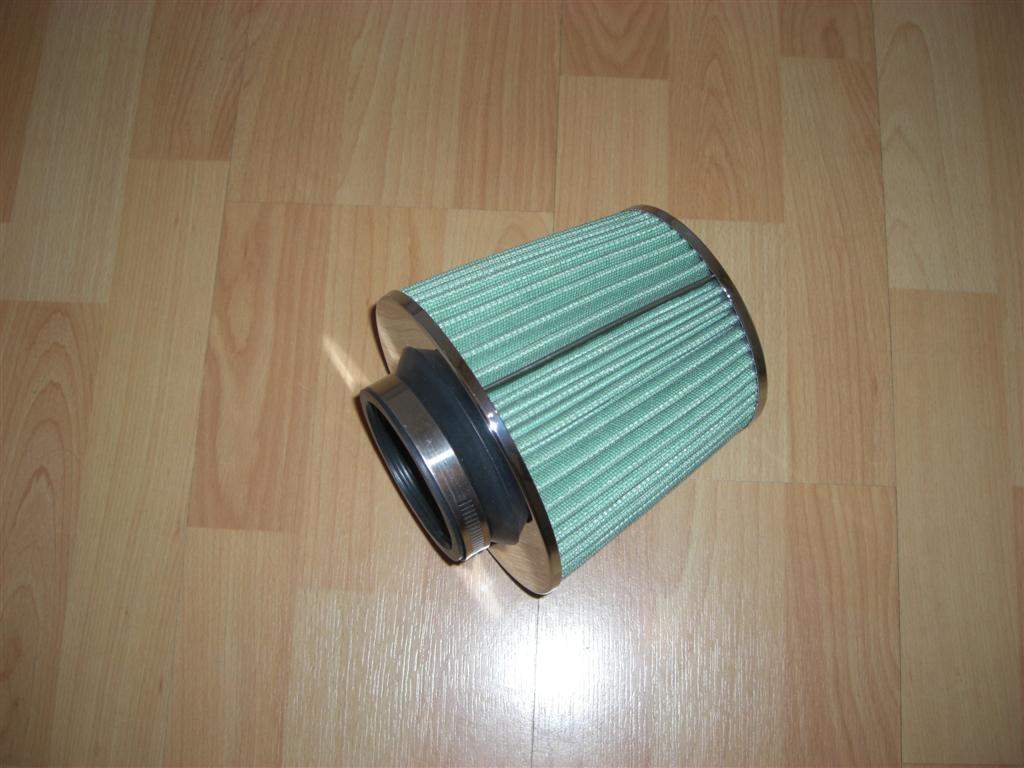
My parts accumulation has also included a 76mm cone filter bought at the 2009 Stafford show for £10:
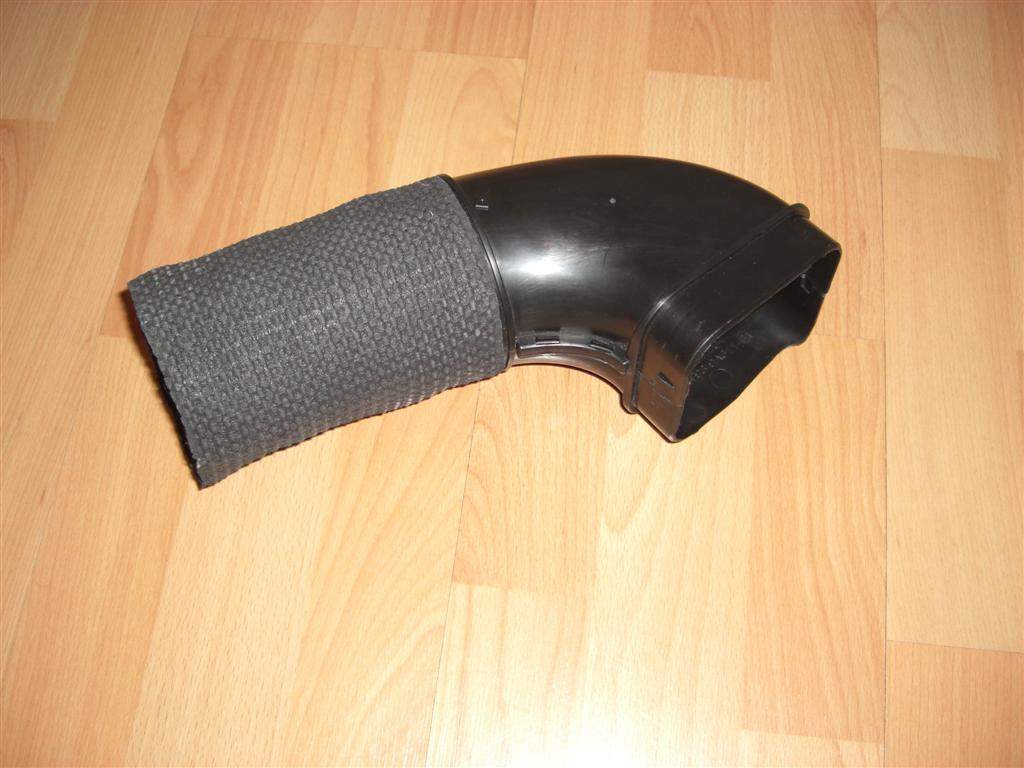
A plastic connector to join the airbox to the feed pipe (found in the scrap bins at work!):
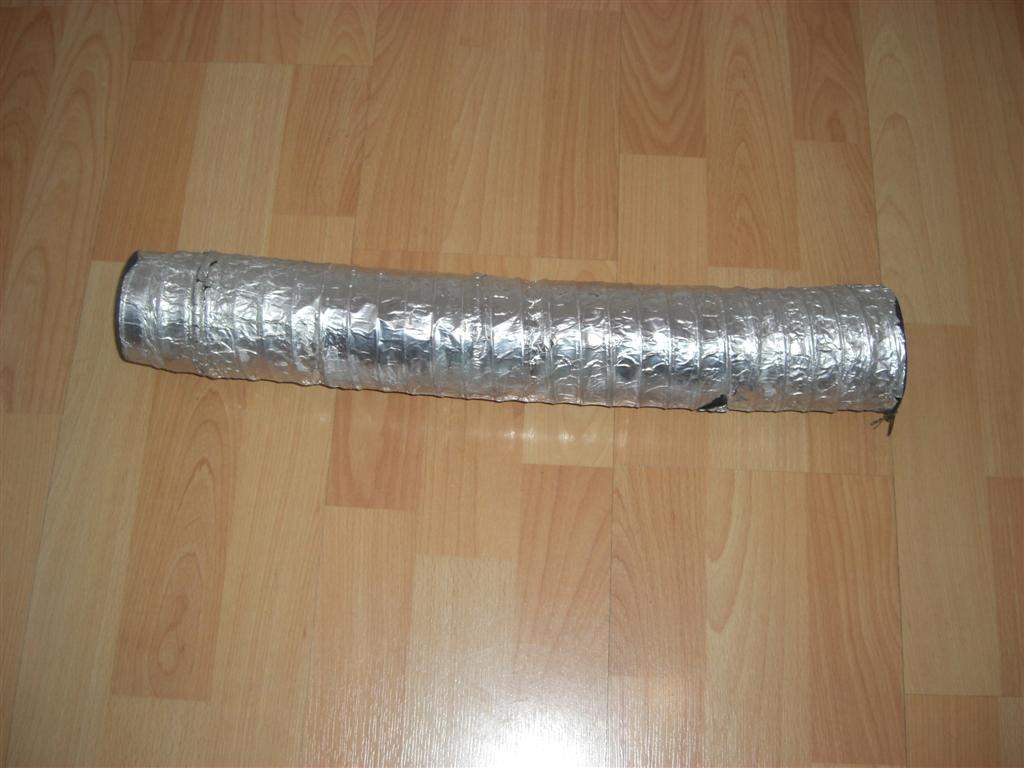
And a (now redundant!) 500mm length of 76mm pipe from Ruari Coles' TVR:
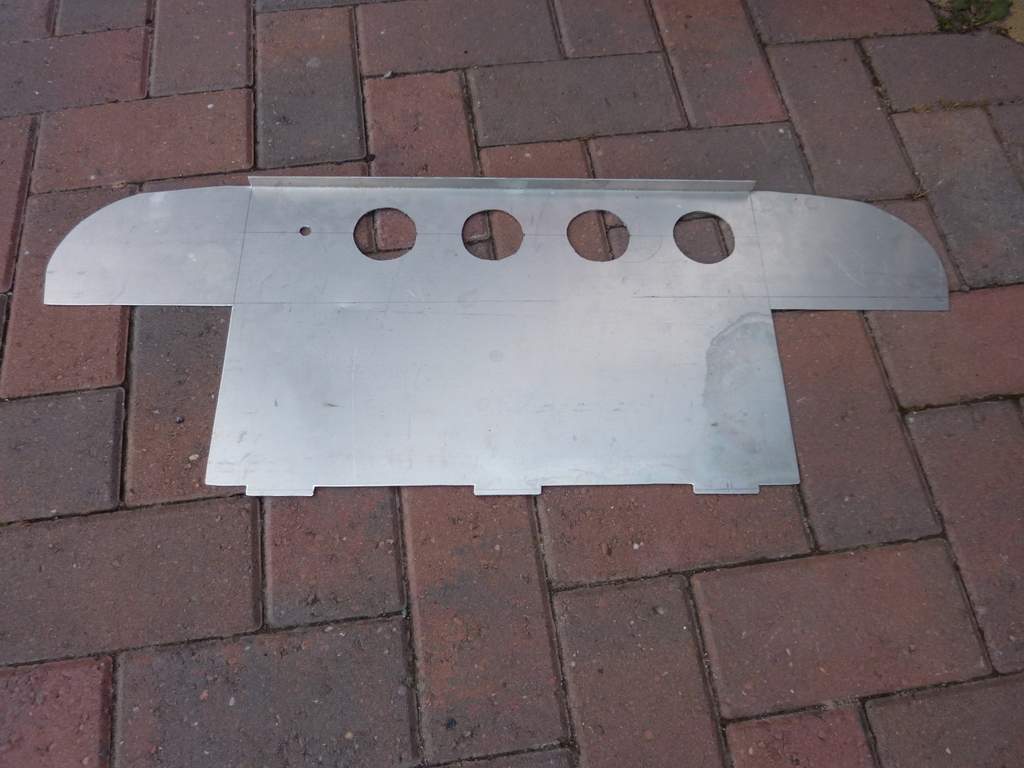
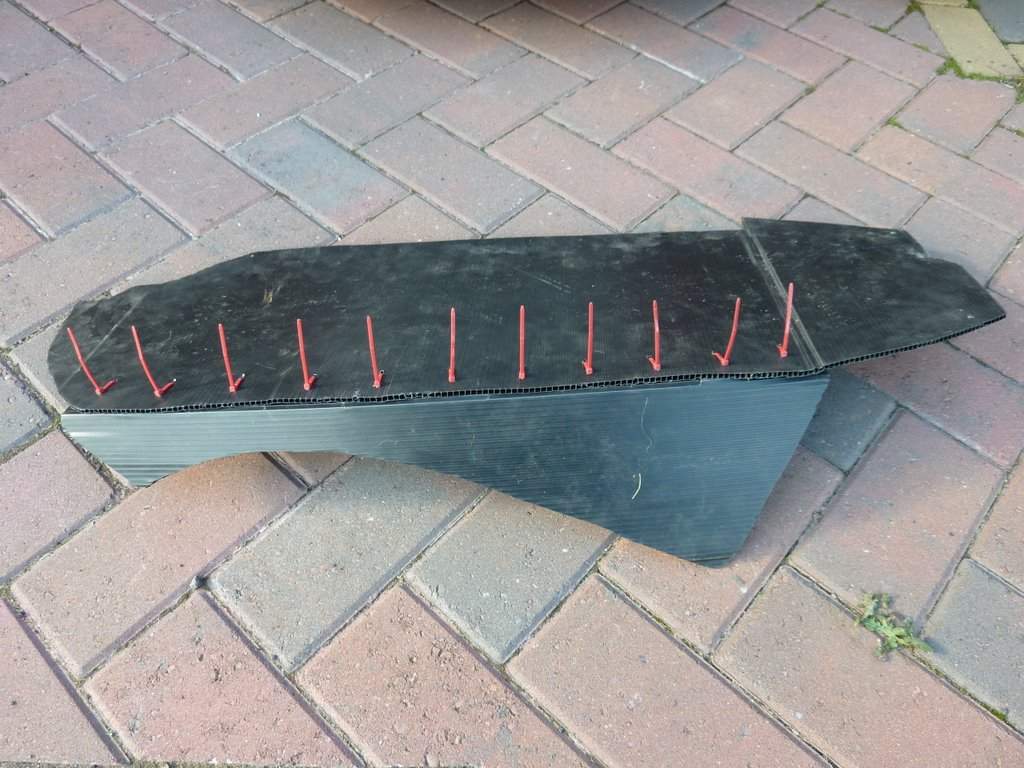
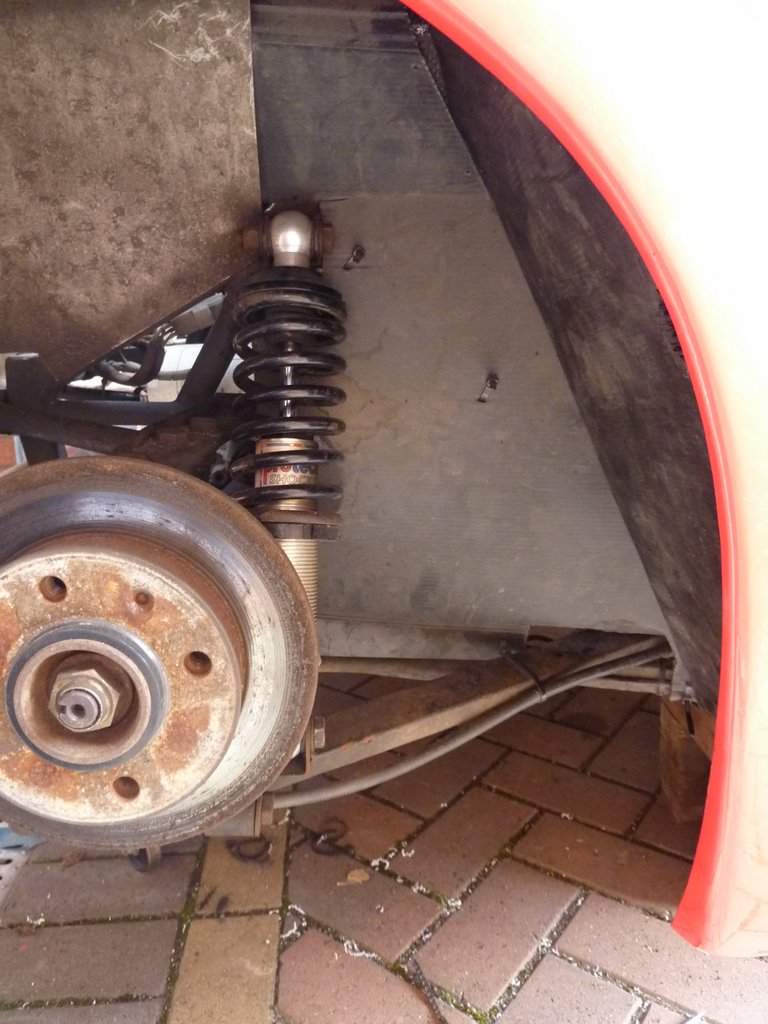
January 2010: Next job was to start making the inner arch from the Correx. This was made up from 2 separate sections. The Correx proved to be very easy to work with, cutting very easily with a stanley knife. The largest piece was fixed to the side of the chassis by zip ties. In order to avoid bending the sheet (it tends to crease quite easily) I had to remove the shock unit but this was still an easy job. The second section runs between this piece and the fibreglass wheel arch, and proved more tricky to secure at the outer edge where it sits against the inner surface of the rear wing. I am therefore still considering my options, bonding it in place being one of them, but I can't do this until the rest of the cold air feed is sorted... Hence, the second piece of Correx is yet to be fitted... More news as it happens! July 2010: Finally got round to spending some time designing the airbox, initially with cardboard :-) August 2010: Aluminium fabrication skills being used in earnest! The airbox is now taking shape:
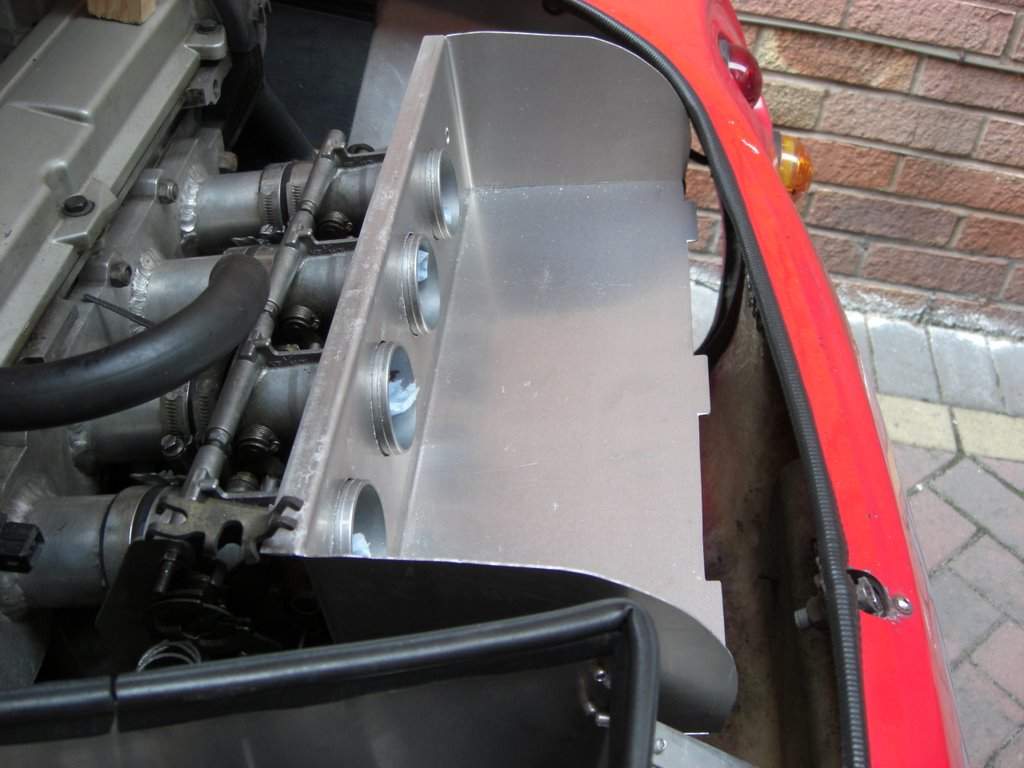
This took hours of work, but I am now starting to make good progress. Keen to get this finished as soon as possible as the old sock filters are literally falling apart now! September 2010: The next step was to fold the airbox and check it fitted within the engine bay:
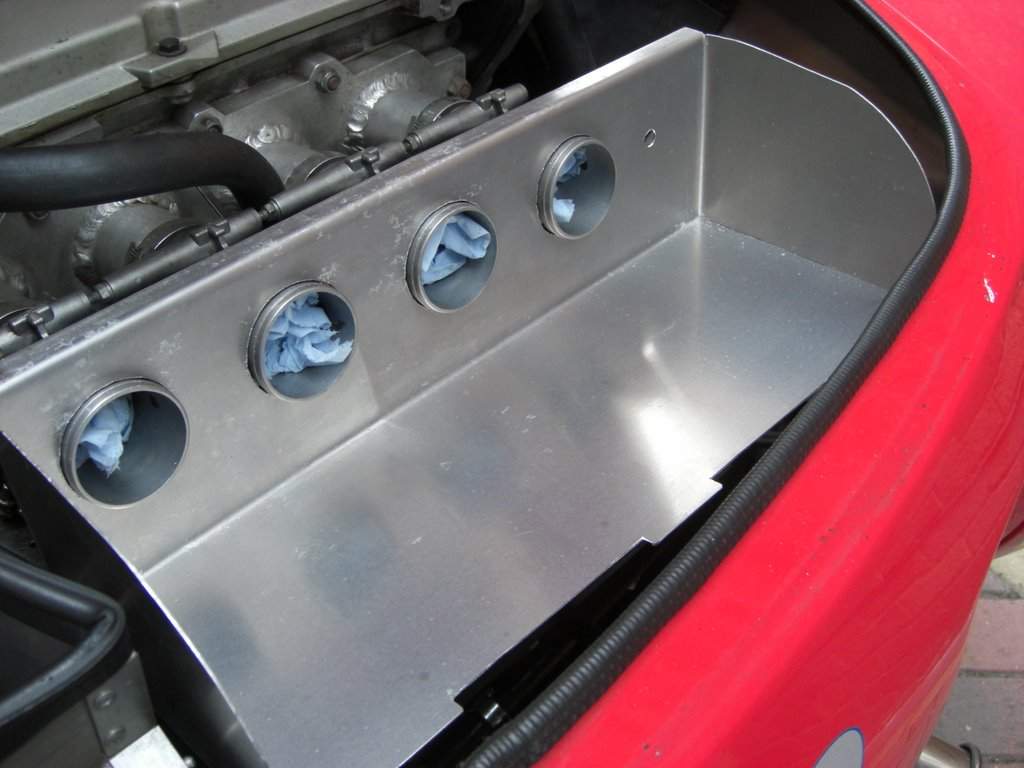
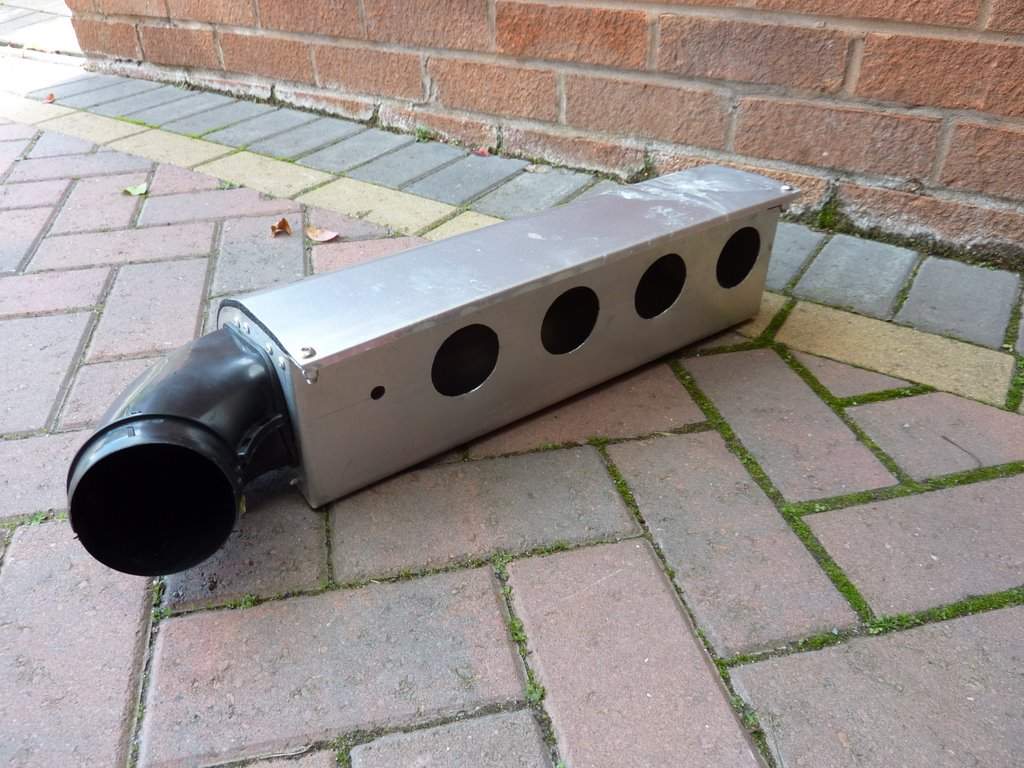
A cut out was then made in the right hand side to accommodate the plastic bend to the air feed. I then used some 90deg aluminium angle section to join the lower corners, and to create a flange around the sides for the seal to the top cover. After lots of fettling, I ended up with this:
With the old filter socks literally falling apart (they have been repaired with needle and thread a few times now!) it was definitely time to crack on and fit the airbox, so a weekend was set aside to do the conversion. It also made sense to do a few other minor jobs while I had better access to some areas in the engine bay. These included:
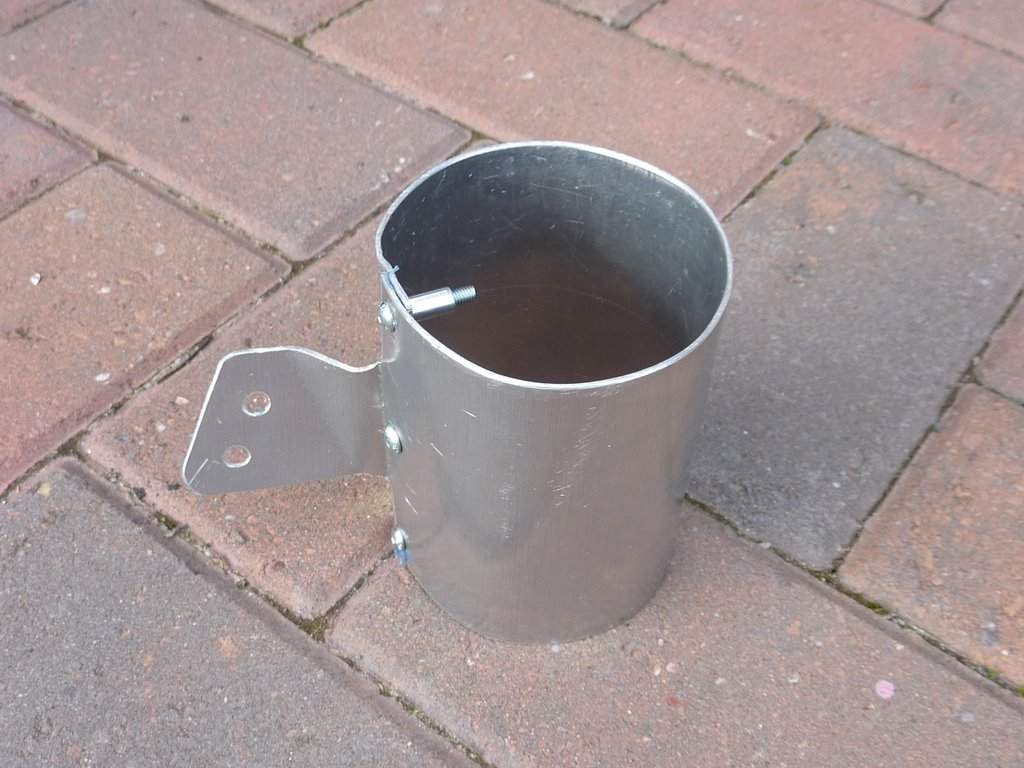
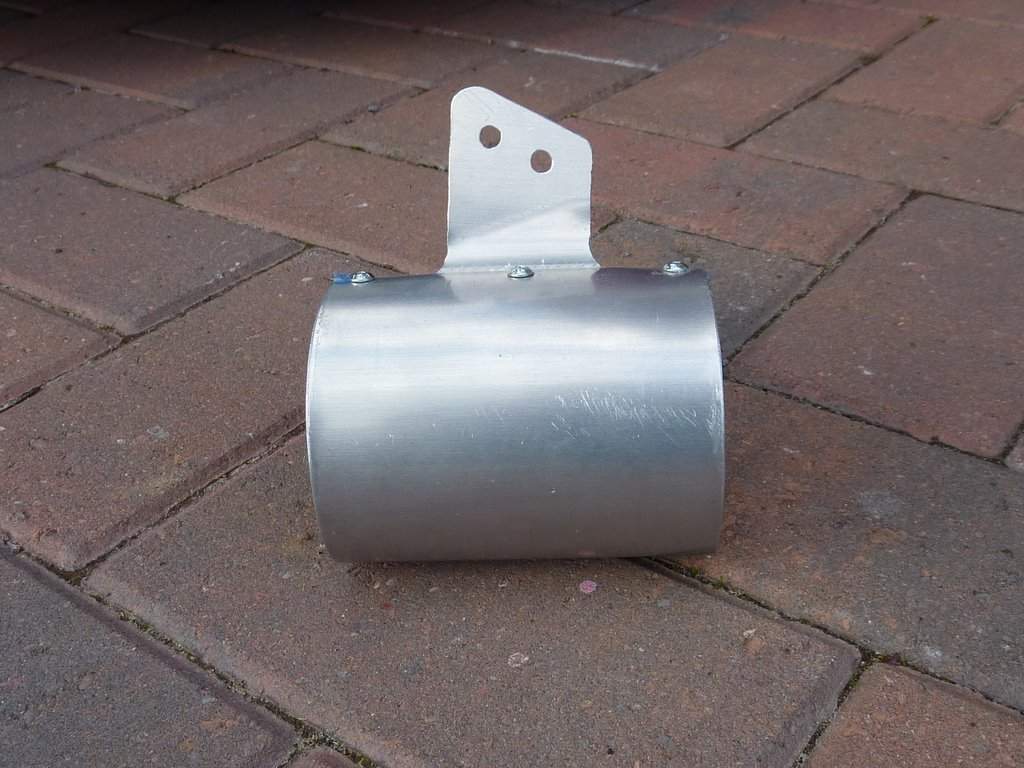
.With those jobs out of the way, the airbox was fitted to the throttle bodies, and the routing of the feed pipe checked to determine where the air filter would be positioned. The filter would require a bracket to secure in place, and the obvious solid place to mount it to was the join between the rear wings and main tub (which are bolted together). Conveniently, 1 of the existing bolts was in about the right place, so an extra whole was drilled close by to give a 2 point fixing. The existing bolt was seized solid after 6 years of being blasted with water from the rear wheel, so the head had to be ground off to release. A bracket then need to be made, which I decided to integrate with a home made joiner section to mate the air filter to the hose:
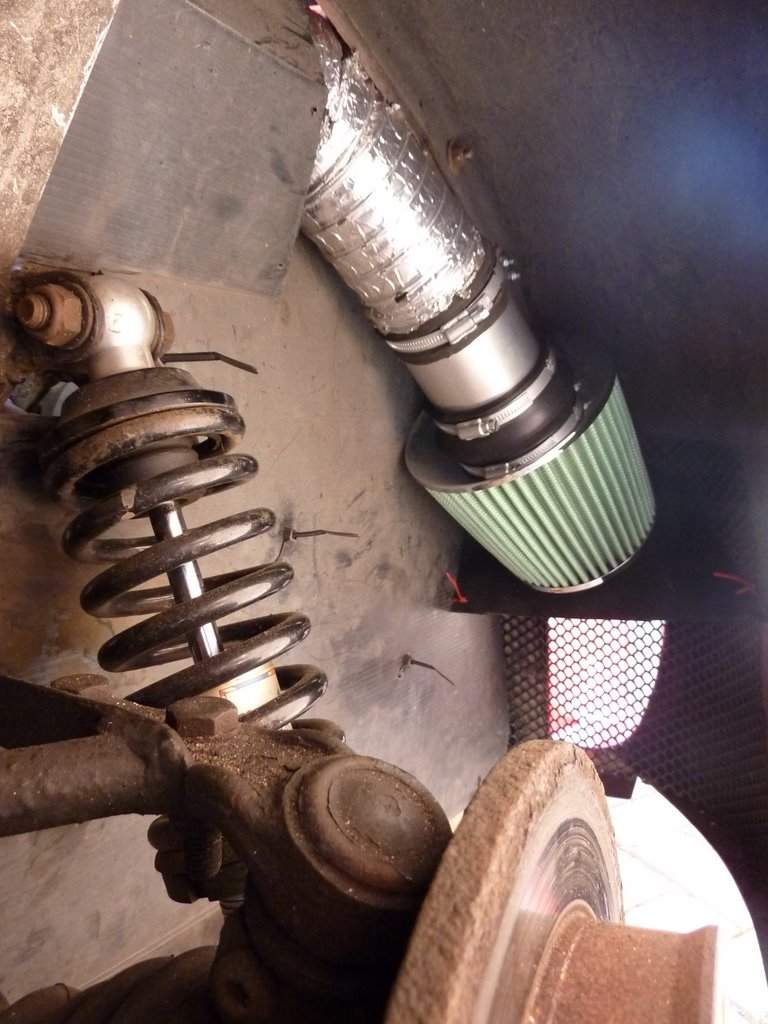
Note that the joiner is temporarily bolted together in these pics! For the final install it was sealed and rivetted together. The next job was to make up a small shield, such that road spray thrown up by the front wheel does not get directly dumped onto the airfilter through the mesh in the rear arch. This was done with another piece of correx, zip tied into place. The feed and filter were then fixed into position:
The final job was to work out how to secure the remaining piece of wheel arch liner. Ideally I didn't want to bond this into place, to enable easier removal in the future for servicing etc. I therefore devised a solution to join an additional piece of correx to sit flat against the inner surface of the rear wing, bearing between the return lip of the wheel arch and the wheel arch liner. Not a very convincing description, so here's a picture of the new part joined by trusty zip ties to the previously fabricated liner section:
You can see the curve of the smaller piece that sits against the return lip of the wheel arch. The bit flapping around to the right in the photo bends up and forms a floor section underneath the location of the air filter. This is the part in place in the car:
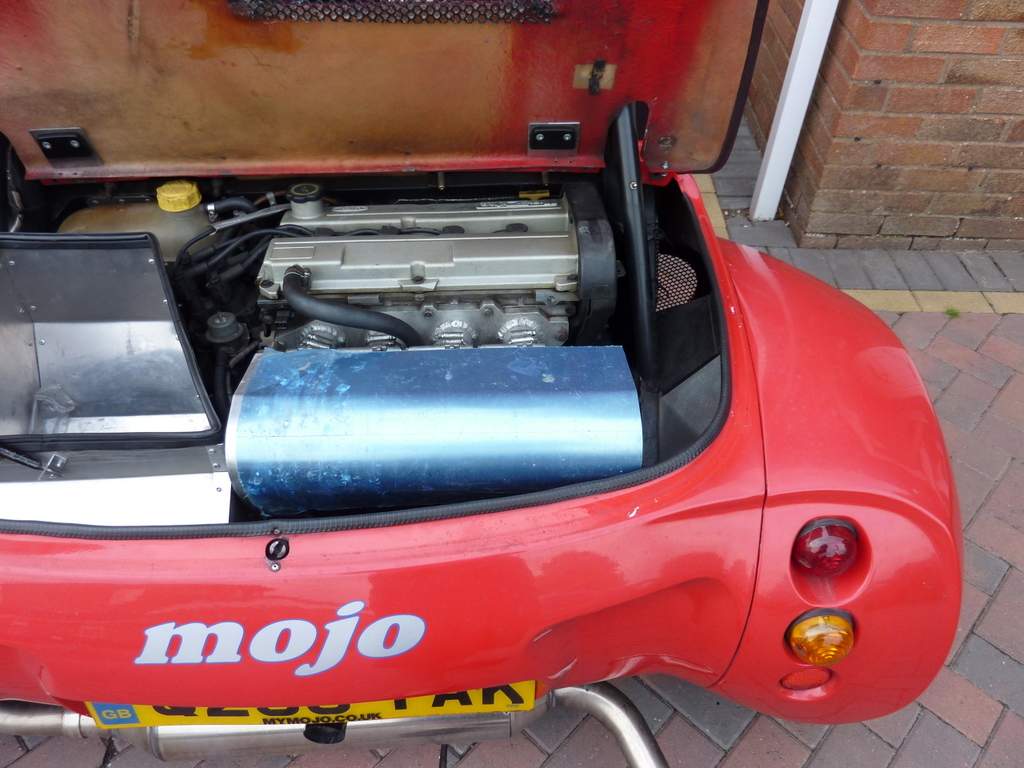
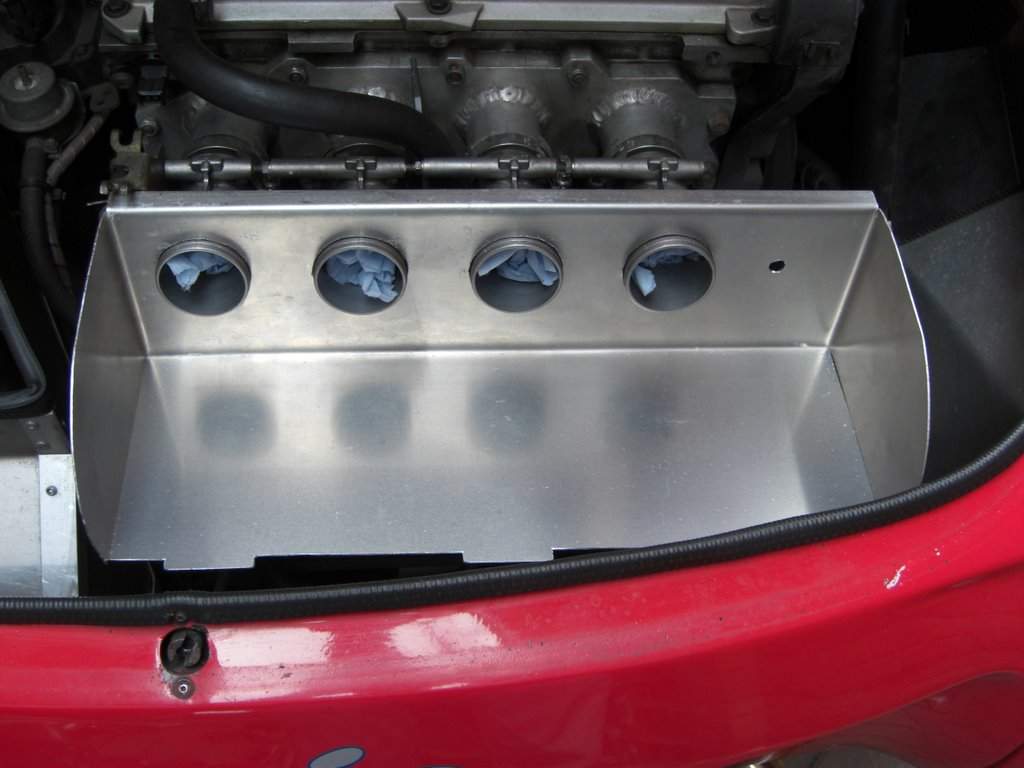
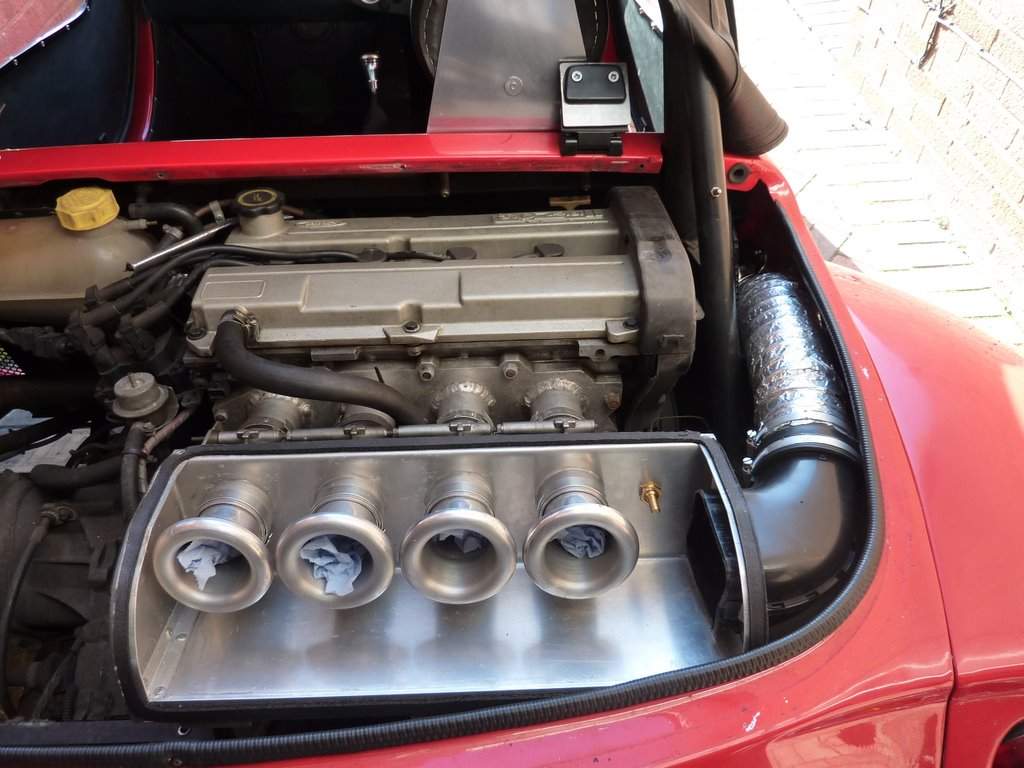
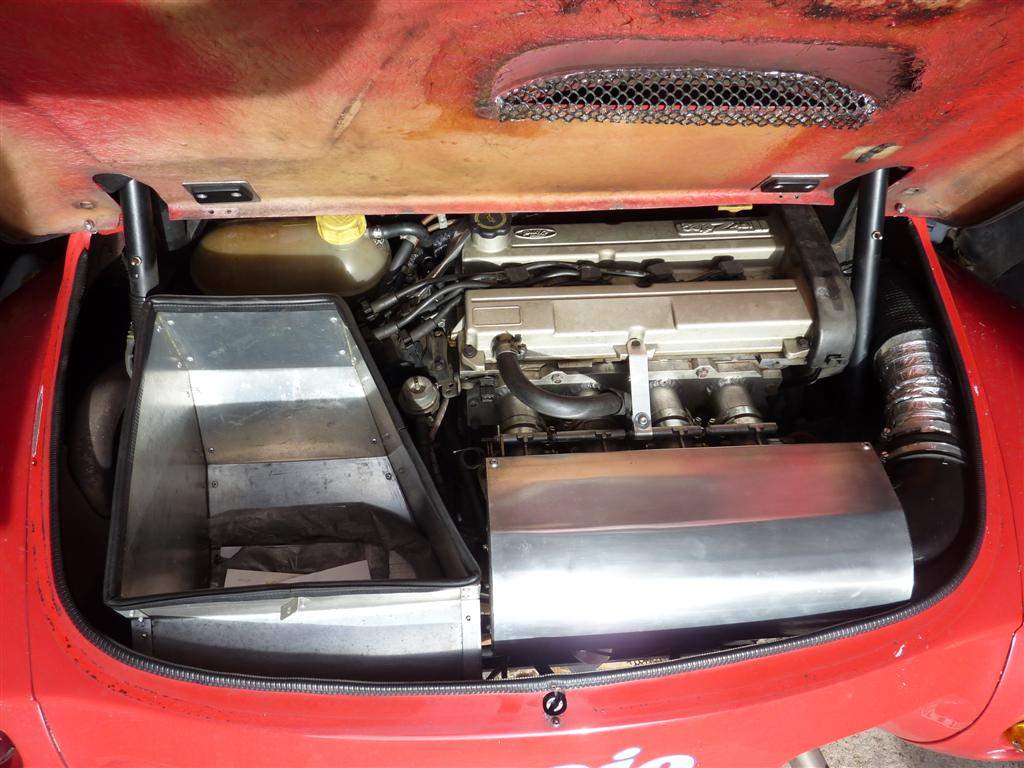
The perspective of the photo makes it look like the liner is intruding into the space needed for the tyre, but it's just due to the angle of the photo - nothing makes contact with the wheel fitted and the suspension cycled up and down! Phew... Final view of the whole install with the airbox cover fixed in place and bootbox re-fitted:
It's a pretty tight package!
|
||||||||||||||||||||||||||||||||||||||||||||||||||||
|
|
||||||||||||||||||||||||||||||||||||||||||||||||||||||